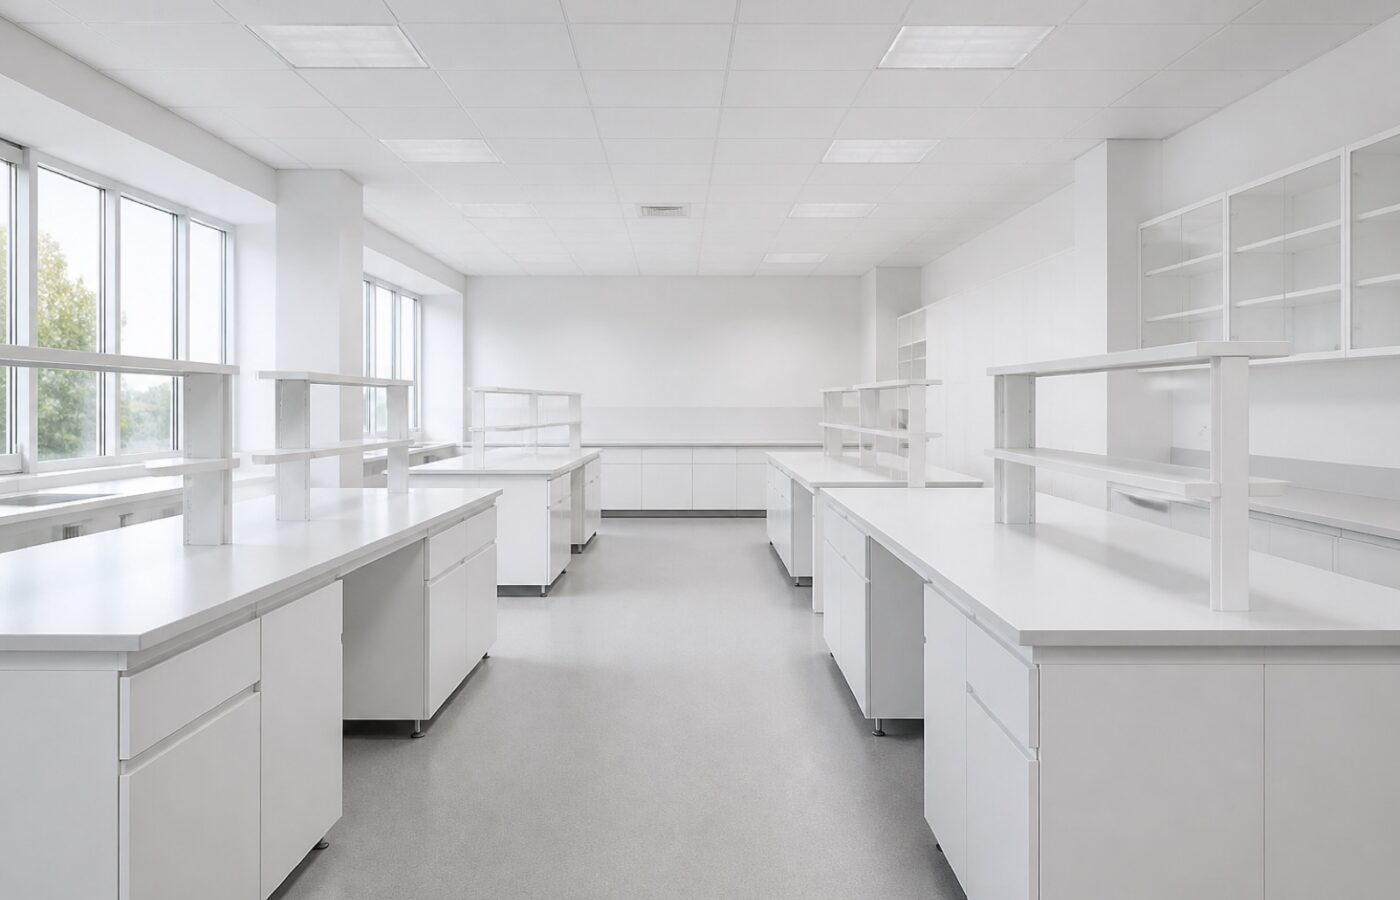
Most layout regrets are invisible on the floor plan and obvious in the first month. Three planning habits prevent nearly all of them.
Zone by activity, not by furniture
Group work by what it needs — clean, wet, hot, cold, quiet — and give each zone its own path. When sample prep, culture work and wash-up share one aisle, every task interrupts every other; when they zone cleanly, the same square metres feel twice as large.
Route the flows before placing the benches
Samples, people, waste and consumables each move through a lab daily. Draw those four arrows on the plan first: samples should move forward without crossing waste, and the autoclave should not sit at the end of the longest corridor. Benches land naturally once the arrows make sense.
Power, ventilation and floor loads are layout decisions
Ultra-low freezers reject heat and want conditioned air; centrifuges want stiff floors away from balances; biosafety cabinets want still air, far from doors and diffusers. Check services against the equipment list while walls are still on paper — moving a duct costs pennies at this stage and thousands later.
Leave growth room where growth happens
Labs grow at the cold storage row and the bench ends. Leave a freezer-width gap in the cold row and a spare service drop at each bench run, and the next instrument arrives without a renovation.