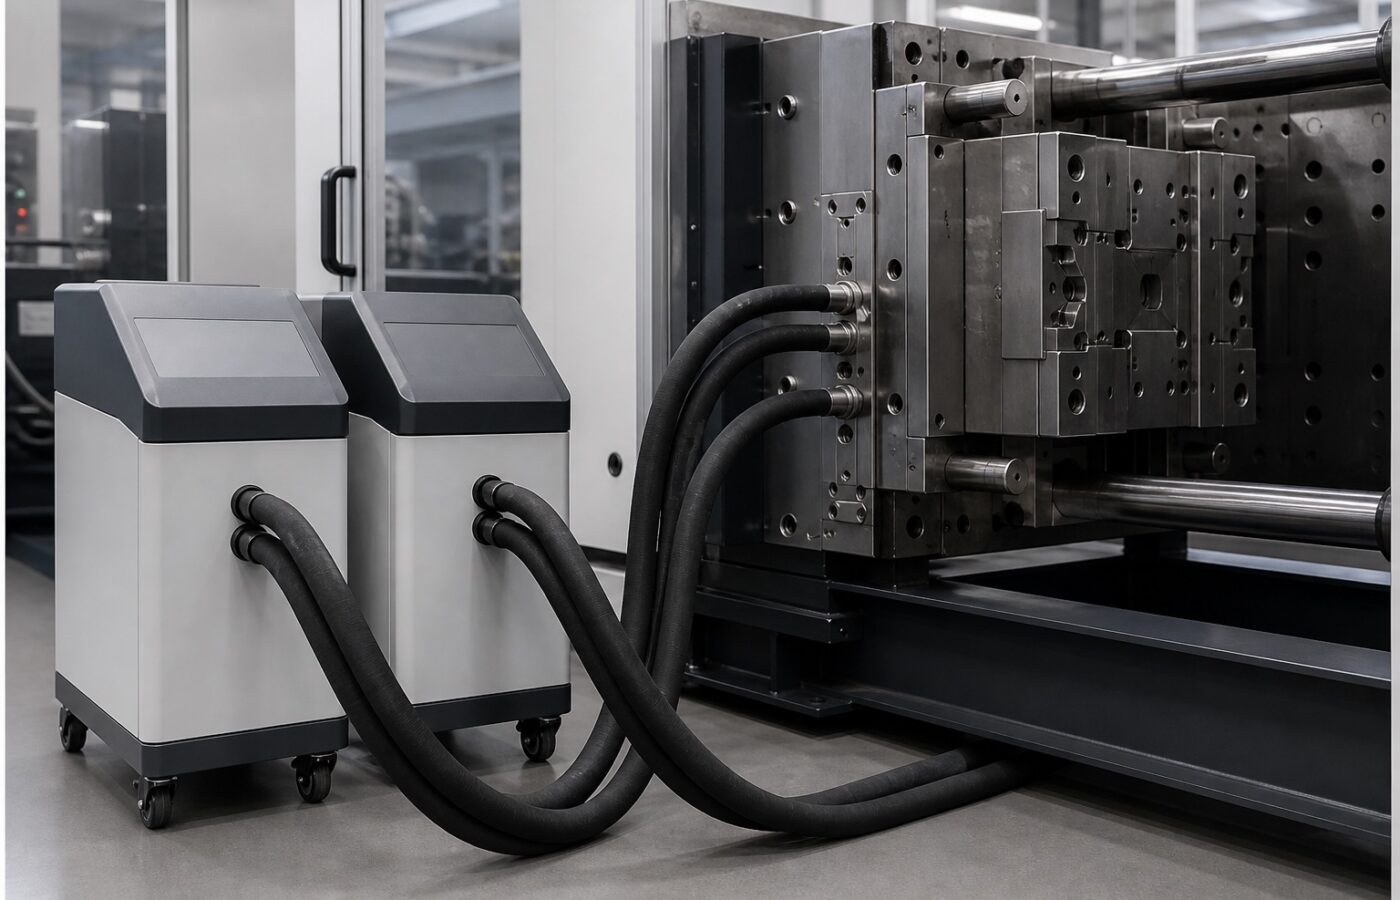
Mold temperature is the process variable that decides surface finish, dimensions and cycle stability — and the one most often left wherever the last job put it. A practical starting routine pays for itself quickly.
Start from the resin card, verify on the steel
Resin suppliers publish recommended mold surface temperatures for a reason. Set the controller from the card, then verify with a surface probe on the cavity face after the mold has soaked — the controller display shows water temperature, and the steel can sit many degrees away from it.
Flow makes temperature real
A setpoint without turbulent flow is a wish. Check that the unit actually achieves turbulent flow in the mold’s channel layout; a delta between flow and return that keeps growing is the classic sign of a fouled or starved circuit doing half its job.
Balance the halves deliberately
Core and cavity often want different temperatures — that is what two circuits are for. Warping problems frequently trace back to halves plumbed together for convenience years ago. Pipe them separately, label the hoses, and record both setpoints on the process sheet.
Write down what worked
When the parts pass, record water setpoints, measured steel temperatures and the delta at stable running. That one line on the setup card is what makes the next mold change start where this one ended.
