Cold-process is the oldest trick in the soap book: mix oils, pour, wait. The waiting is what supermarket bars skip, and it is also the entire difference. Here is the plain-words version of what happens in our studio – and in your kitchen, if the making kit tempts you.
Why “cold” process
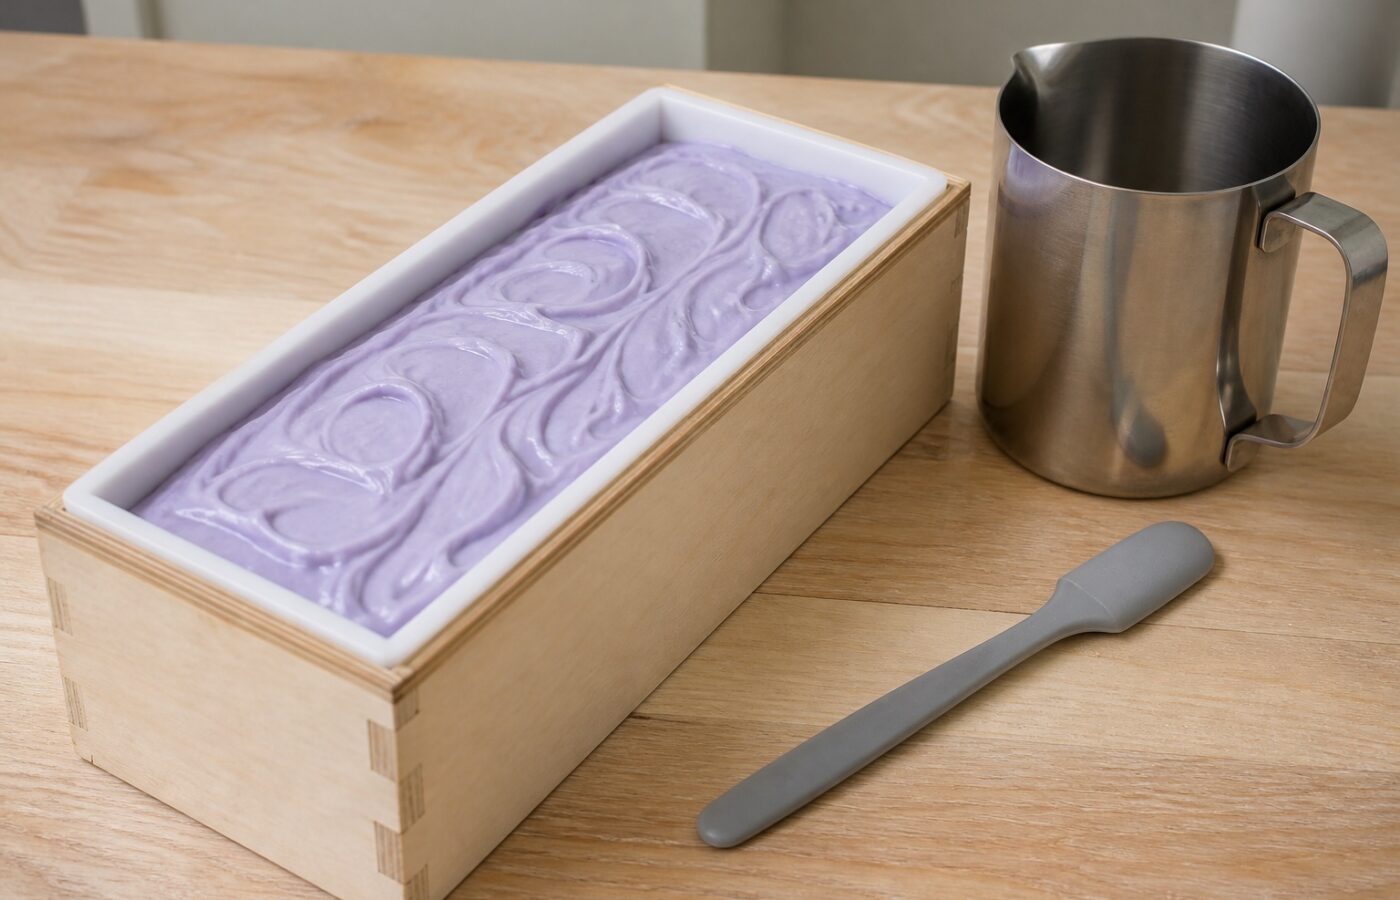
The name only means no external cooking – the blended oils generate their own gentle heat as they set. The batter pours like thick custard, takes its marble swirl in the first minutes, and firms in the mould overnight. Everything after that is patience.
The pour decides the pattern
Colour goes in as mineral pigment, and the marble happens in a single skewer pass through the batter – hesitate and the swirl muddies, overwork it and the pattern blurs. Every bar keeps the exact second of its pour. That is why no two handmade bars ever match, and why we stopped wishing they would.
Six weeks is the recipe
A fresh-cut bar is soap, technically – but it is soft, wet and short-lived. Six weeks on an airy rack lets the water leave slowly: the bar hardens, the scent settles, the lather turns dense and mild. Cutting the cure short is the most common beginner shortcut and the most expensive one, paid in bars that vanish by Friday.
Starting at your own table
You need a mould, a base, a scent, a skewer and a kitchen scale – which is exactly what we pack in the making kit, measured and ready. The first loaf teaches the pour, the second teaches the swirl, and the cure rack teaches the rest. Label the date, walk away, and let time do the part it is best at.