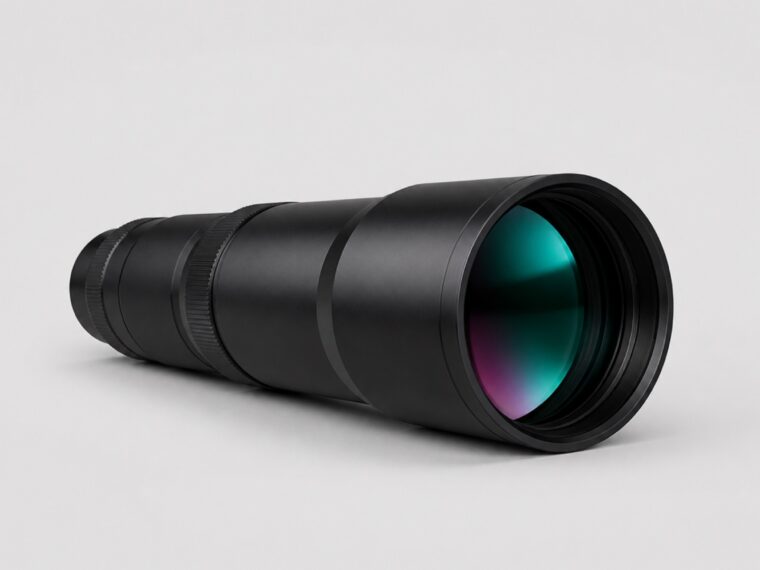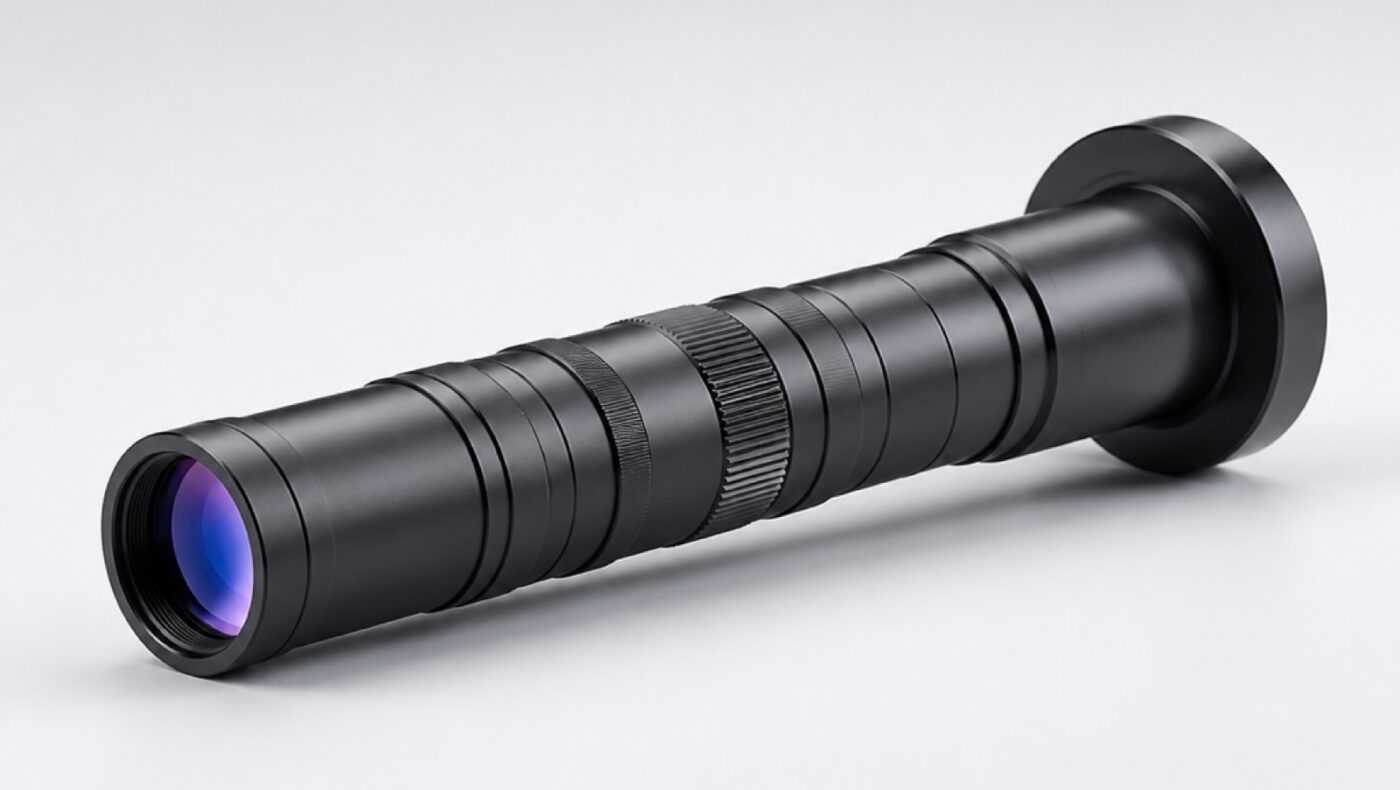
Line scan inspection — imaging a moving web of material one line at a time — looks simple. In practice, most of the mistakes we see come from starting the calculation at the wrong end.
Start with the camera, not the lens
A line scan sensor is a long, thin strip, and the whole strip has to fit inside the area the lens can cover. Check the lens’s published coverage against your sensor before anything else: a lens that covers a shorter sensor perfectly will leave the ends of a longer one dark.
The upgrade trap
The classic mistake: somebody upgrades to a higher-resolution camera to see finer detail, keeps the same lens, and discovers the outer edges of the image are black. A longer sensor needs a different lens, a different setup and usually more room in the machine. Checking coverage before ordering avoids the whole problem, and it takes one glance at the datasheet.
Focus is less forgiving than you expect
At typical line scan working distances the in-focus zone is only a few millimetres deep. Material that flutters or varies in thickness will drift out of focus. Either guide the material firmly through the inspection zone, or accept that you will need more light and a more forgiving setup.
Lighting completes the system
A line scan camera only ever sees one thin line, so all the light has to land exactly there. Purpose-made bar lights aimed along the inspection line are almost always the right answer.
Talk it through
If this note touches something you are specifying right now, our application desk will look at your part drawing and recommend an optic.